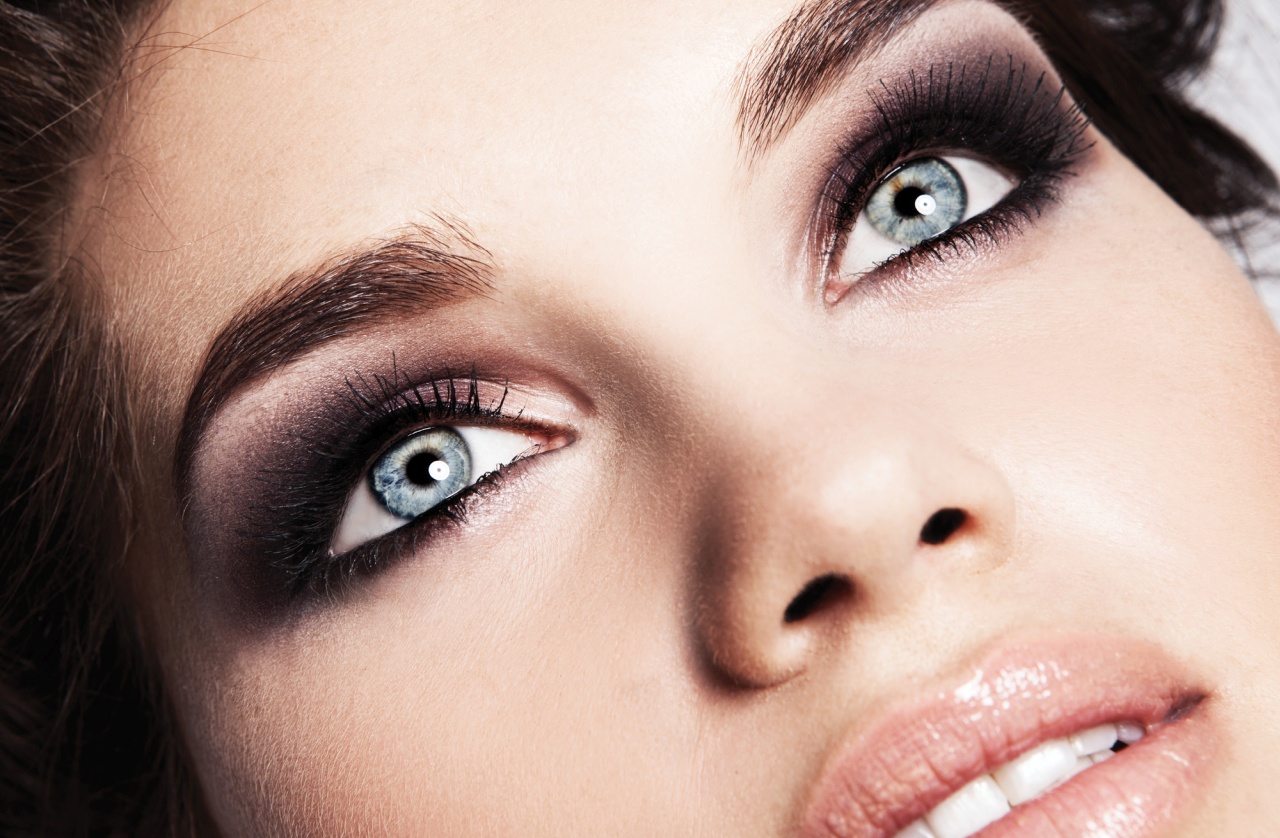
The smokey eye makeup style is a timeless choice that enhances your eyes. It involves skillfully blending lighter shades with darker colors like black or brown. This versatile look can be worn for various occasions, including casual outings, professional meetings, celebrations, and even weddings. While it may seem challenging to perfect, by using the correct techniques, you can easily achieve the smokey eye effect. Continue reading to learn the simple steps to create this glamorous look.
Step 1 – Prime Your Eyelids
Eyeshadow primer is often undervalued by many individuals. However, it plays a crucial role in ensuring that eye makeup lasts longer and looks flawless. In lieu of using an eyeshadow primer, one can opt for a full coverage concealer. This alternative not only brightens the eye area but also conceals any imperfections, blurs out blemishes, and corrects the color of the eyes.
Step 2 – Apply Black Eye Pencil or Kajal
Grab a black eyeliner or kajal and put it on either the upper or lower line of your eyelashes. Smudge it to achieve a smoky appearance. Use a kajal pencil to fill in any sparse areas of your lashes, adding volume and enhancing the overall look.
Step 3 – Select The Lighter Shade
Select a brown, gray, blue, or green shade that is neither too light nor too dark. Utilize a flat brush designed for eyeshadow application to spread the color across your eyelid. Enhance the intensity of the shade by concentrating it in the middle of your eyelid and lightly applying it to your lower lash line.
Step 4 – Choose Your Darker Shade
Select a hue that is two shades darker than the lighter color you have applied all over your eyes. Place it on the crease area and blend it towards the outer corner of your eye. Continuously blend it with a lighter shade until the colors seamlessly transition together.
Step 5 – Highlights
To enhance the smokey eye appearance, incorporate some glitter onto your eyelid. Opt for a shiny, lighter shade of eyeshadow for the inner corner, and a burnt gold sparkly shade for the center. Utilizing a highlighter will contribute to a more seamless finish.
Step 6 – Apply Eyeliner
To enhance the smokey eye appearance, use liquid or gel eyeliner. Achieve a prominent black line that can be blended using a smudging brush. For a more subtle result, opt for a pencil liner. Black eyeliner provides an ideal smokey style, while colors like brown create a natural look.
Step 7 – Give A Boost to Your Eyebrows
There are several options to fill in any gaps in your eyebrows, such as using an eyebrow pencil, powder, or pomade. It is important to focus on the highest point of your eyebrow arch while doing this. By achieving perfectly shaped eyebrows, you can enhance the appearance of your eyes and give them a tidy and polished look.
Step 8 – Do the Rest of Your Makeup
When creating a smokey eye, it is important to use a moderate amount of bronzer and blush. For a beautiful complement to the smokey eye, try using pale pink, medium plum shades, or neutral-colored lipsticks. If handled correctly, matte lighter shades of red can also enhance this dramatic look. To finish your makeup, apply mascara to your lashes.
Pro Tips
- Having the skill to blend effectively is crucial when trying to achieve a smokey eye makeup appearance. If you lack proficiency in this area, there is a high likelihood that you will resemble someone without a permanent residence with darkened eye sockets. In order to rectify this, it is advisable to acquire a high-grade fluffy brush specifically designed for blending purposes. Once obtained, utilize it by gently rotating it in small circles towards the inner portion of your eyelid.
- In order to achieve a flawless angle for your smokey eye makeup, use a strip of tape and position it in a way that mirrors the desired line you wish to achieve.
*Information in this article is not medical advice and may not be factually accurate. It is intended for entertainment purposes only. Consult with a physician before attempting any tips in this blog post and to get the most up to date factual data about any procedure or treatment.